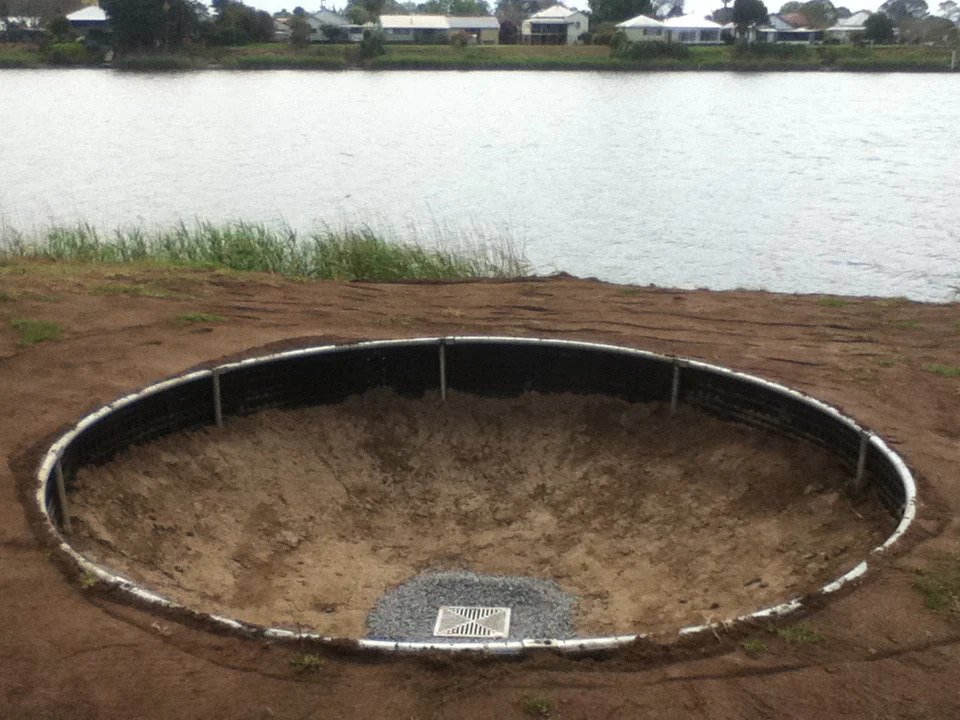
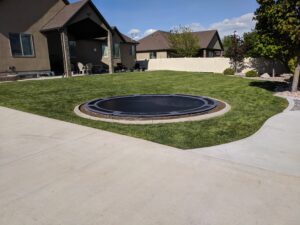
You’ve made the decision to set up an in-inground trampoline in your yard, congratulations! You know you have to excavate a hole to put the trampoline into but did you know you also need a retaining wall to make the most of your new equipment?
Retaining walls hold back the soil around the sides of the hole and stop it from collapsing back into the pit. This not only increases the life and stability of your new trampoline, it also makes landscaping and garden maintenance around it a breeze. But how do you install a retaining wall? Can you do it yourself? Read on to find out the easiest ways to install a retaining wall for your new sunken trampoline.
Types of Retaining Wall
There are different types of retaining wall you can use for your sunken trampoline:
- Complete kits included with a trampoline bundle
- Separate retaining wall kits
- DIY retaining walls
A retaining wall that comes as a complete bundle with your trampoline set will be the easiest to install as it’s constructed to easily fit onto the frame. These sets are usually metal or plastic panels that attach around the frame before you put it into the ground.
A separate retaining wall kit will come with all the pieces you need but you will need to check that it’s compatible with your existing trampoline.
If you want to build your retaining wall yourself, it can be constructed from metal panels, concrete blocks, bricks or even railroad ties.
How to Install the Retaining Wall
Depending on the type of retaining wall you are using for your in-ground trampoline, there may be different ways of installing it. For a wall kit that comes with the trampoline frame, all you need to do is attach the provided panels to the frame, usually via pre-drilled holes.
If you are buying a retaining wall kit that is not the same brand as the trampoline you are burying, additional holes may need to be drilled in order to fix it to the frame.
When building a retaining wall yourself, it isn’t always necessary to attach it to the trampoline frame, depending on what the wall is made out of.
Dig the pit at least a foot wider than the diameter of the trampoline to ensure there is enough room for the retaining wall. If you are using a premade retaining wall kit, do not assemble it in the hole as you will need to attach it to the frame before burying it. If you are building your own wall of bricks, cement blocks etc, this can be made directly in the hole.
If using a retaining wall kit, once it’s been placed in the excavated hole, you may need to backfill the pit with some soil to hold it securely in place. Once this is done, you can backfill any remaining space between the outside of the retaining wall and your yard. The retaining wall braces the trampoline pit so that it’s safe to walk and mow right up to the edge of the trampoline.
While a good quality retaining wall should last for many years, it’s a good idea to check on its condition every once in a while and make repairs as necessary to ensure you won’t have to reinstall the trampoline. If you’re not confident in your building abilities, consider using a professional service to excavate your yard, build the retaining wall and install your in-ground trampoline for you.
Image Source: “TDU Retaining Wall System.” Trampolines Down Under. Accessed 12 January. 2023.


