
Installing an in-ground trampoline is a lot of work. Just like with other excavating projects in the backyard, things don’t always go as smoothly as planned. This guide breaks down the 7 steps to installing an in-ground trampoline so you don’t make common mistakes that will cost you additional time, money, and resources.
Remember to consult this guide in tandem with any assembly manual that comes with your in-ground trampoline.
Let’s jump right in!
Table of Contents
Step 1: Determine the Best Location for Your In-Ground Trampoline
The first step of a successful in-ground trampoline installation is deciding where your trampoline will go. Location is everything!
Look for a flat area to dig your trampoline hole. Unlevel trampolines pose a safety risk for jumpers who are bounced at an angle and have less control.

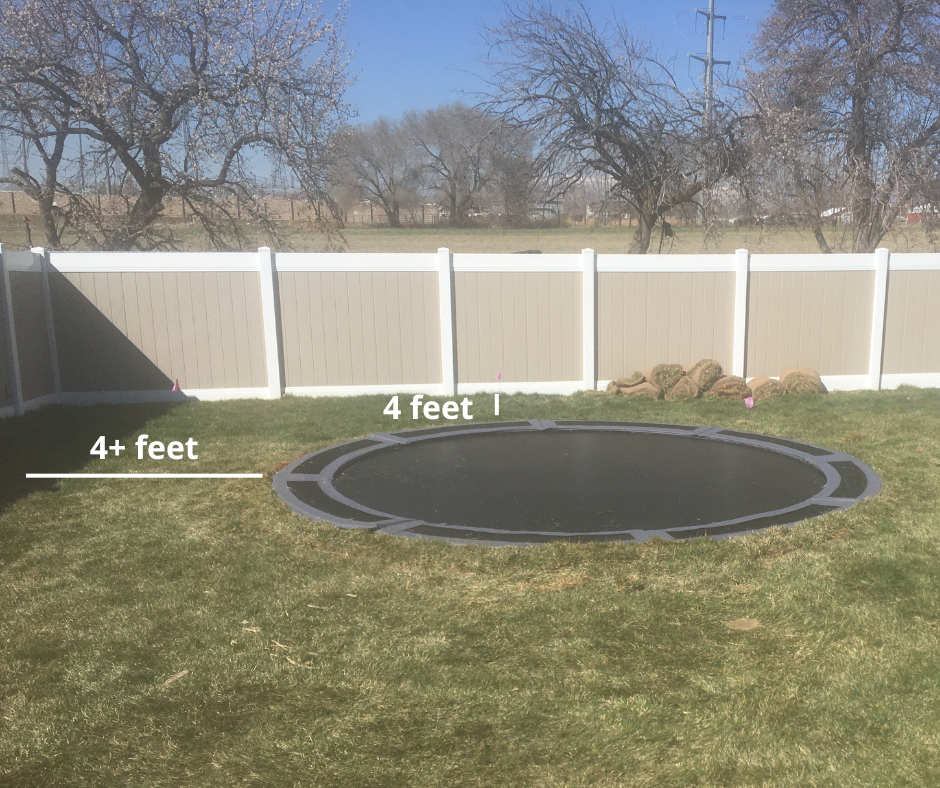
Also watch out for any nearby safety hazards that someone could hit if they fall off of the trampoline. If there are shrubs or boulders nearby or large branches overhead, consider choosing a different location.
Aim to keep your trampoline at least 3 to 4 feet away from any dangerous obstacles.
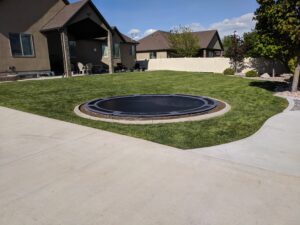
One of the benefits of an in-ground trampoline in the ground is its sleek appearance. When you’re considering where to place your trampoline, think about aesthetics as well as safety. Look for areas of your yard that need an exciting visual element. If you don’t like the appearance of a trampoline, consider more discreet spots like a corner area or side yard.
Step 2: Mark the Dig Area
After finding the perfect spot, you’re ready to mark the dig area for your trampoline. You will need to dig the hole bigger than the size of the trampoline (6-8in all around) to give you enough room to place the trampoline in the hole and properly backfill.
There are two common ways to mark the dig area.
The first way is to use the assembled trampoline frame mentioned in the next step to mark the trampoline area. After placing the frame in the desired location of the trampoline hole, use spray paint to draw a circle outlining the area. Ensure that the painted circle is 6-8 inches larger than the frame all around as mentioned previously.
Another way to mark the dig area for your trampoline hole is to place a stake at the center of where your trampoline hole will be. Attach a string the length of the hole’s radius to the stake. Using spray paint, walk the string around the stake with the string pulled tight, and mark the outline of the hole. Make sure the length of your string accounts for an extra 6-8 inches all around the frame.
Step 3: Assemble Frame and Attach Your Retaining Wall to the Trampoline Frame
Your trampoline manual will come with assembly instructions. Follow your manual’s instructions to build the frame of your trampoline (you may need tools).
Don’t worry about the mat, springs, and pads at this point; they will all be added later.
Once your frame is assembled, you will need to attach the retaining wall to it. We recommend a polyethylene retaining wall as these are durable and weather resistant. For steps on how to attach a retaining wall of another material such as wood, metal, or concrete, see the guidelines below.
The retaining wall needs to be screwed to the trampoline frame. It helps to secure portions of the wall with a top and bottom screw, aligned diagonally from each other until all the entire wall is attached in this way before screwing in the remaining screws.
You will want to ensure that straps for your trampoline pad are put on the frame before attaching the retaining wall. Trying to install the straps after the retaining wall is secured to the trampoline makes it a lot more difficult. Make sure you do not put screws through the straps.
If you are using metal siding, you will first need to dig the trampoline hole following the steps below, place the frame in the hole, then slide in your sheets of metal between the wall of the hole and the frame. Next, you will screw the metal sheets to the trampoline frame. Each sheet will also need to be screwed to adjacent sheets. Get more details for building a meta retaining wall.
If you’ve purchased a corrugated steel trampoline ring, you first will align each sheet around the frame of the trampoline with the metal sheets overlapping at the legs of the trampoline. Typically there will be pre-drilled holes where screws can then be used to secure the steel ring to the trampoline frame.
To build the cinder block retaining wall, you will also need to follow the next steps to dig the trampoline hole and ensure to account for the width of the cinder blocks. Once you’ve dug a level hole, begin placing the cinder blocks to build a wall all around the hole. Use a level to ensure that the wall’s height stays consistent. Next, begin mixing concrete and filling the space within the cinder block wall from the top. Some people optionally cover the top of the wall with grass.
The first step in building a wood retaining wall is to choose your wood. You will want to use non-circular wooden beams such as railroad ties. Their uniform shape makes them easy to put in place and they can even come after being treated to keep bugs away. Next, you’ll cut the beams down to size, place and secure them. Use vertical posts to secure the horizontal ones to it. Then, backfill the retaining wall. As building your own retaining wall can be an intensive process, we’ve compiled some more tips and tricks fro wooden retaining walls..
Step 4: Dig Your Trampoline Hole
Before digging any holes in your yard, contact a locating service such as Blue Stakes. These services help identify various pipelines and other underground hazards. We recommend calling your locating service 1-2 weeks before you plan to dig.
Once you’ve ensured the location for your in-ground trampoline is safe, you can start digging the hole your trampoline will sit in.
If your yard is finished, we recommend using a sod cutter to make neat cuts through your grass where the hole will be dug. This will preserve the clean, finished look of your lawn.
Consult your trampoline’s manual for guidance on how deep to dig and how to put a trampoline in the ground. Generally speaking, you want to dig a bowl-shaped hole that is three to five feet deep at its deepest point.
Digging a trampoline hole with just a shovel is a monumental task. We highly recommend hiring a contractor with specialized equipment. Professionals often use mini excavators or backhoes when excavating a trampoline hole.
Additionally, if you have a finished lawn, you will likely have to adjust either your trampoline hole location or the sprinkler system itself.
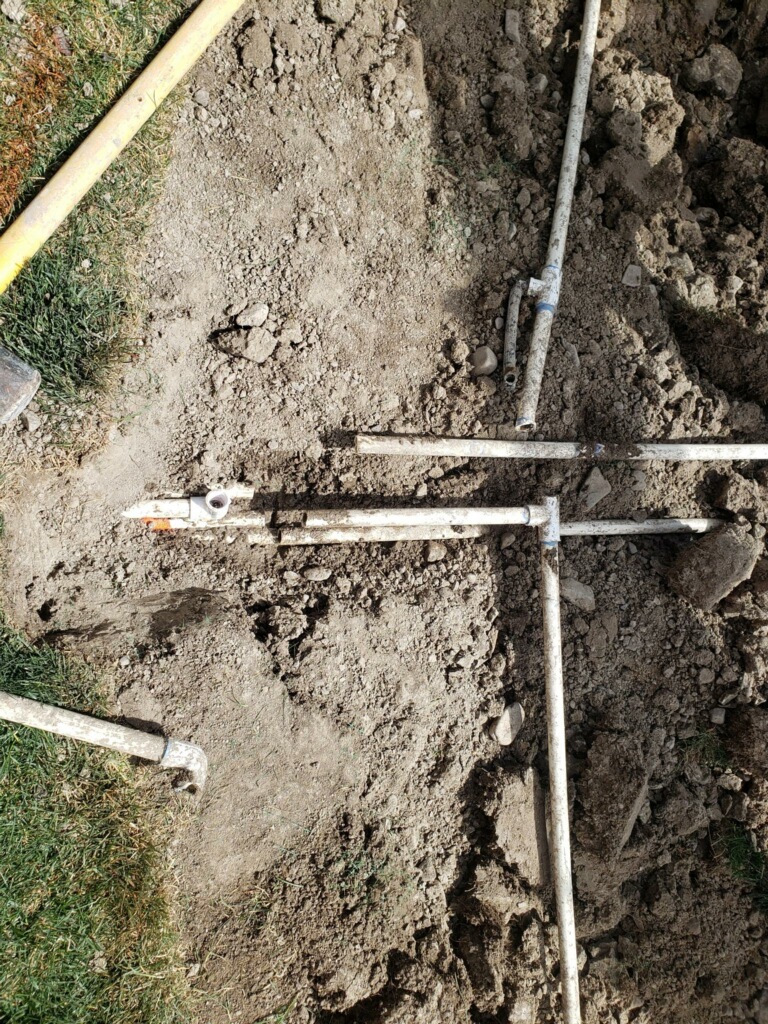
Additionally, if you have a finished lawn, you will likely have to adjust either your trampoline hole location or the sprinkler system itself.
Begin digging around the edges of the marked area and slowly build a cone shape in the middle of the trampoline hole with the dirt you’re excavating. Make sure to keep some of the extra dirt that will be used for backfill later. We recommend placing the extra dirt right next to the trampoline hole for easy access.
Step 5: Place the Trampoline in the Hole
Once your frame is assembled, the retaining wall attached, and your hole is dug to specification, it’s time to place the frame and retaining wall in the hole.
Adjustments are usually necessary to make sure all sides are level. Double check that the top of the frame is flush with the ground.
Once you’re happy with the position of your trampoline, you can backfill as necessary. Use the dirt you excavated to fill in around the retaining wall between the retaining wall and outer dirt wall of the trampoline hole. Use the cone shape in the middle to backfill on the inside of the trampoline.
We recommend using water on the outside of the retaining wall between the trampoline and dirt wall of the trampoline hole to help compact the dirt and minimize settling over time.
Step 6: Attach Mat, Springs, and Pads
With your frame fully installed and backfill in place, it’s time to attach your mat. You can secure your mat to the trampoline frame with springs.
If your trampoline is square, start by securing the mat at the corners. If it’s circular, attach a spring at 3, 6, 9, and 12 o’clock before installing the remaining springs. Most trampolines come with a spring puller. We recommend using the spring puller to safely attach the mat to the trampoline frame.
Because the trampoline is freshly excavated, be sure to avoid getting rocks, dirt, and other debris on the trampoline mat. These materials have the potential of tearing holes in the mat.
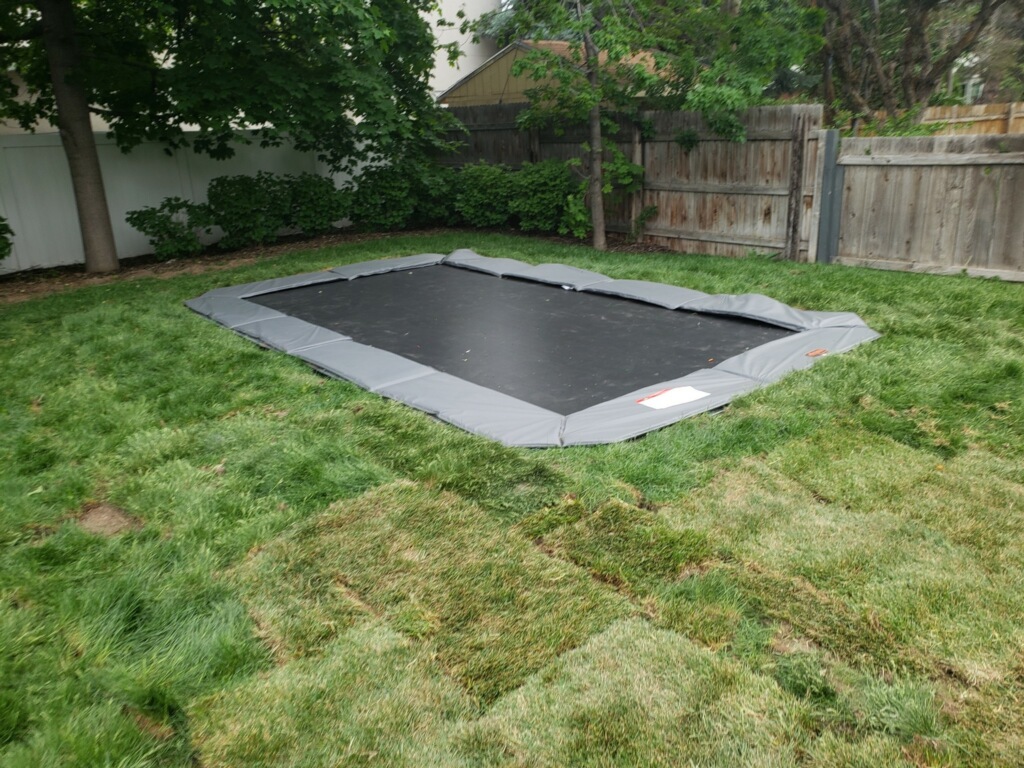
Trampoline pads cover the metal springs around the edges of your trampoline. They protect you from hurting a foot or ankle by accidentally stepping on (or between) a spring. Attaching these important safety features is the final step in assembling your new trampoline.
Step 7: Enjoy Your New Trampoline!
Your in-ground trampoline installation is complete! With the above tips on how to build an in-ground trampoline, your family can enjoy all the perks of a trampoline.
FAQs About In-ground Trampoline Installation
There are many variables to consider, including soil type, trampoline size and shape, and your comfort level with basic construction projects. In-ground trampoline installation typically takes about one day if you hire a professional. However, the process might be prolonged if you are digging your own trampoline hole. The process also may be prolonged if you run into any unforeseen obstacles.
If your trampoline will be in an area that gets a lot of water, you live in an area with a high water table, or if you live somewhere with a wet climate, you should consider water mitigation when installing a trampoline.
Drainage options include pumps, gravel, and drainage pipes.
Gravel is usually the best option, but if you get a significant amount of water, you will want to consider installing a pump
Before putting a trampoline in the ground, you can get your soil tested to make sure that it’s not rocky or clay-based. Rocks and clay will both make it more difficult to dig. The ideal soil type for digging is loam soil or a clay-loam mix.
Although it is possible to put a regular trampoline in-ground, it is not recommended. Regular trampolines that are buried experience an accelerated rate of wear and tear and are much more prone to rusting and breaking than trampolines that are specifically designed to go in the ground.
We recommend using Trampolines Down Under or Avyna in-ground trampolines as they are built to last, made to be weather resistant, and proven to outlast other trampoline brands.
The cost of your in-ground trampoline will vary depending on the area the trampoline will go, the trampoline kit that is used, and whether or not you do it yourself or hire a professional company to do it for you. Trampoline kits including a retaining wall, frame, mat, and vented pad can be upwards of $2,300 while excavation costs can range from $1,500 to $3,000.
The deepest part of the hole should be three feet deep. The sides of the trampoline hole do not need to go down at a 90 degree angle though a steeper angle from the outside of the hole to the middle doesn’t hurt. While this is a good rule of thumb, it is essential to follow the guidelines of the trampoline’s manufacturer.
Equipment that you will need to dig the hole includes but is not limited to shovels, a mini-excavator, tamper or compactor, hose, power drill, and a dump trailer and truck if you are needing to haul off the excess dirt.
Buried trampolines are considered safer than their above ground counterparts. They are about 3 feet closer to the ground which minimizes risk of children falling off. They also do not pose the threat of being carried by the wind and damaging yards and homes.